

What Is Paint Correction: Restore Your Car's Paintwork
Ah, the joy of a pristine car. That gleaming paintwork, the look of its body craftsmanship, and a sense of pride as you drive it down the highway—there's nothing quite like it. However, all that joy can soon fade if your car becomes covered in dirt, swirl marks, bird droppings, and other environmental hazards. This is where paint correction comes in.
Paint correction is a practice that helps restore a car's paintwork and keep it looking as fabulous as possible. But what is paint correction, and how can you make your car look showroom-new again? In this blog post, find out what paint correction is and how your car can benefit from applying it.
What is Paint Correction?
Paint correction is the process of removing or diminishing surface imperfections from a car’s exterior finish. This includes swirled marks, scratches, oxidation, bird droppings, tree sap gloss reduction, and more. The goal is to restore the original look of the vehicle’s paintwork.
Most professionals recommend paint correction to achieve a showroom-quality finish since, even if your car is fairly new, it is likely that its paint has been exposed to at least some damage due to daily wear and tear. Also, regular polishing helps protect the paint from further deterioration caused by environmental elements such as rain, ultraviolet light, and pollutants.
Why Do You Need Paint Correction?
Paint correction is an important factor in restoring a car's paintwork. But why is it so important? Paintwork degrades over time due to oxidation and the accumulation of dirt, dust, and bird droppings.
Paint correction does more than just improve a car's appearance - it can help protect the vehicle's underlying layers from damage caused by UV rays and airborne debris. For instance, sealant is an integral part of paint correction, as it provides another layer of protection from environmental elements such as water and pollution that can cause further damage to the paint. By removing any imperfections in the exterior while providing additional defense against damaging sources, the overall lifespan of your car's paintwork can be significantly increased if given proper attention with appropriate techniques.
Considering all this information, it may seem clear that paint correction should be performed regularly on a vehicle, both for its appearance as well as for protective measures. However, before proceeding with restoring your car’s paintwork, it’s important to identify what specific steps need to be taken in order to properly address any problem areas.
Identifying Problem Areas
Once it has been established that paint correction is necessary, the next step is to identify and understand the problem areas on a car’s paintwork. Depending on the vehicle’s age, origin, and previous maintenance history, different imperfections can be identified. For instance, an older vehicle is more likely to have fine scratches, swirl marks, and oxidation than a newer car; whereas a used or auctioned car with an unknown repair or detailing history may have etched-in contamination from previously used harsh chemicals. Furthermore, the environment in which the car has been driven or stored can also create areas of concern. Investigating these problem areas is essential to thoroughly assess whether or not a paint correction service is appropriate for the vehicle.
The size of these problem areas will help determine the amount of time and effort necessary to perform paint correction. In some cases, a light buffing and hand polishing may be sufficient to address minor defects, while severe cases of oxidation may require heavy wet sanding followed by multiple steps of compound polish techniques. The exact techniques used will depend on the overall condition of the paintwork as well as any specific issues that require special attention.
At this point, it is also important to decide which kinds of products need to be used for each area that requires attention: Is a detergent wash with a clay bar necessary? Will a cutting compound be enough to break down any deeper scratches? Can an all-in-one polish effectively remove light swirl marks? Answering these questions correctly can make or break the success of any paint correction job and can go a long way in determining how close you will come to restoring your car’s original factory finish.
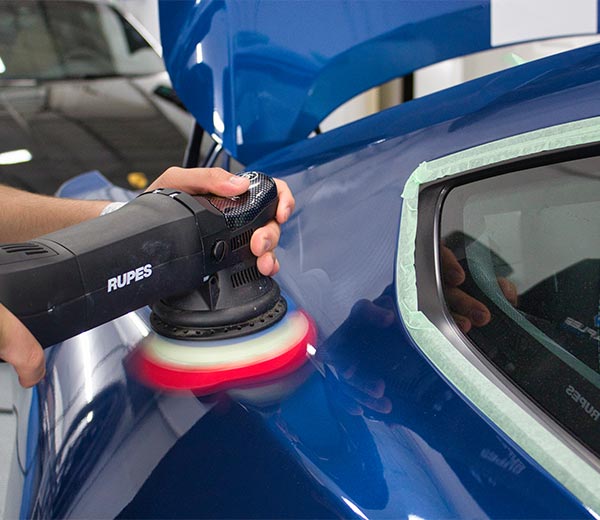
The Technique of Paint Correction
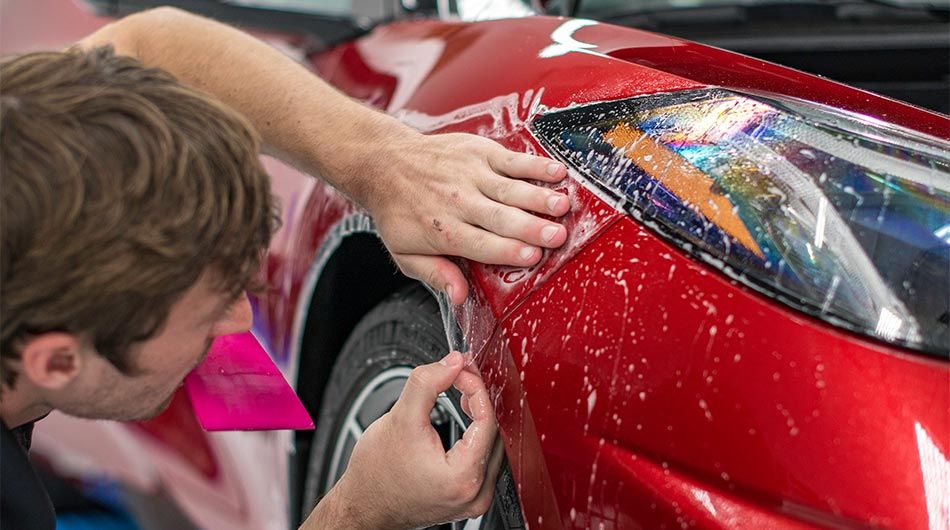
The technique of "paint correction" is the process of restoring a car’s clear coat, which is an essential part of the vehicle’s protective barrier. This process involves utilizing specialized tools and techniques to restore clarity and shine to the surface by removing swirl marks, scratches, and other imperfections that can be found in the paintwork.
This technique requires patience as well as a precise eye and hand for best results. It requires the user to take their time and inspect each section for any damage that needs attention. Depending on the type of damage, different strategies may need to be utilized. For example, if there are deep scratches that require more effort than simply buffing, wet sanding may be needed. In contrast, if the surface contains minor swirls or scratches, simpler methods such as polishing can bring back its original luster without roughing up the surface further.
Ultimately, a balance between these two methods should be reached in order to produce a flawless finish while also keeping the integrity of the paint intact. As with anything else that deals with auto detailing, practice makes perfect when it comes to mastering the technique of paint correction - only experience and trial and error will allow one to develop their skills in this area.
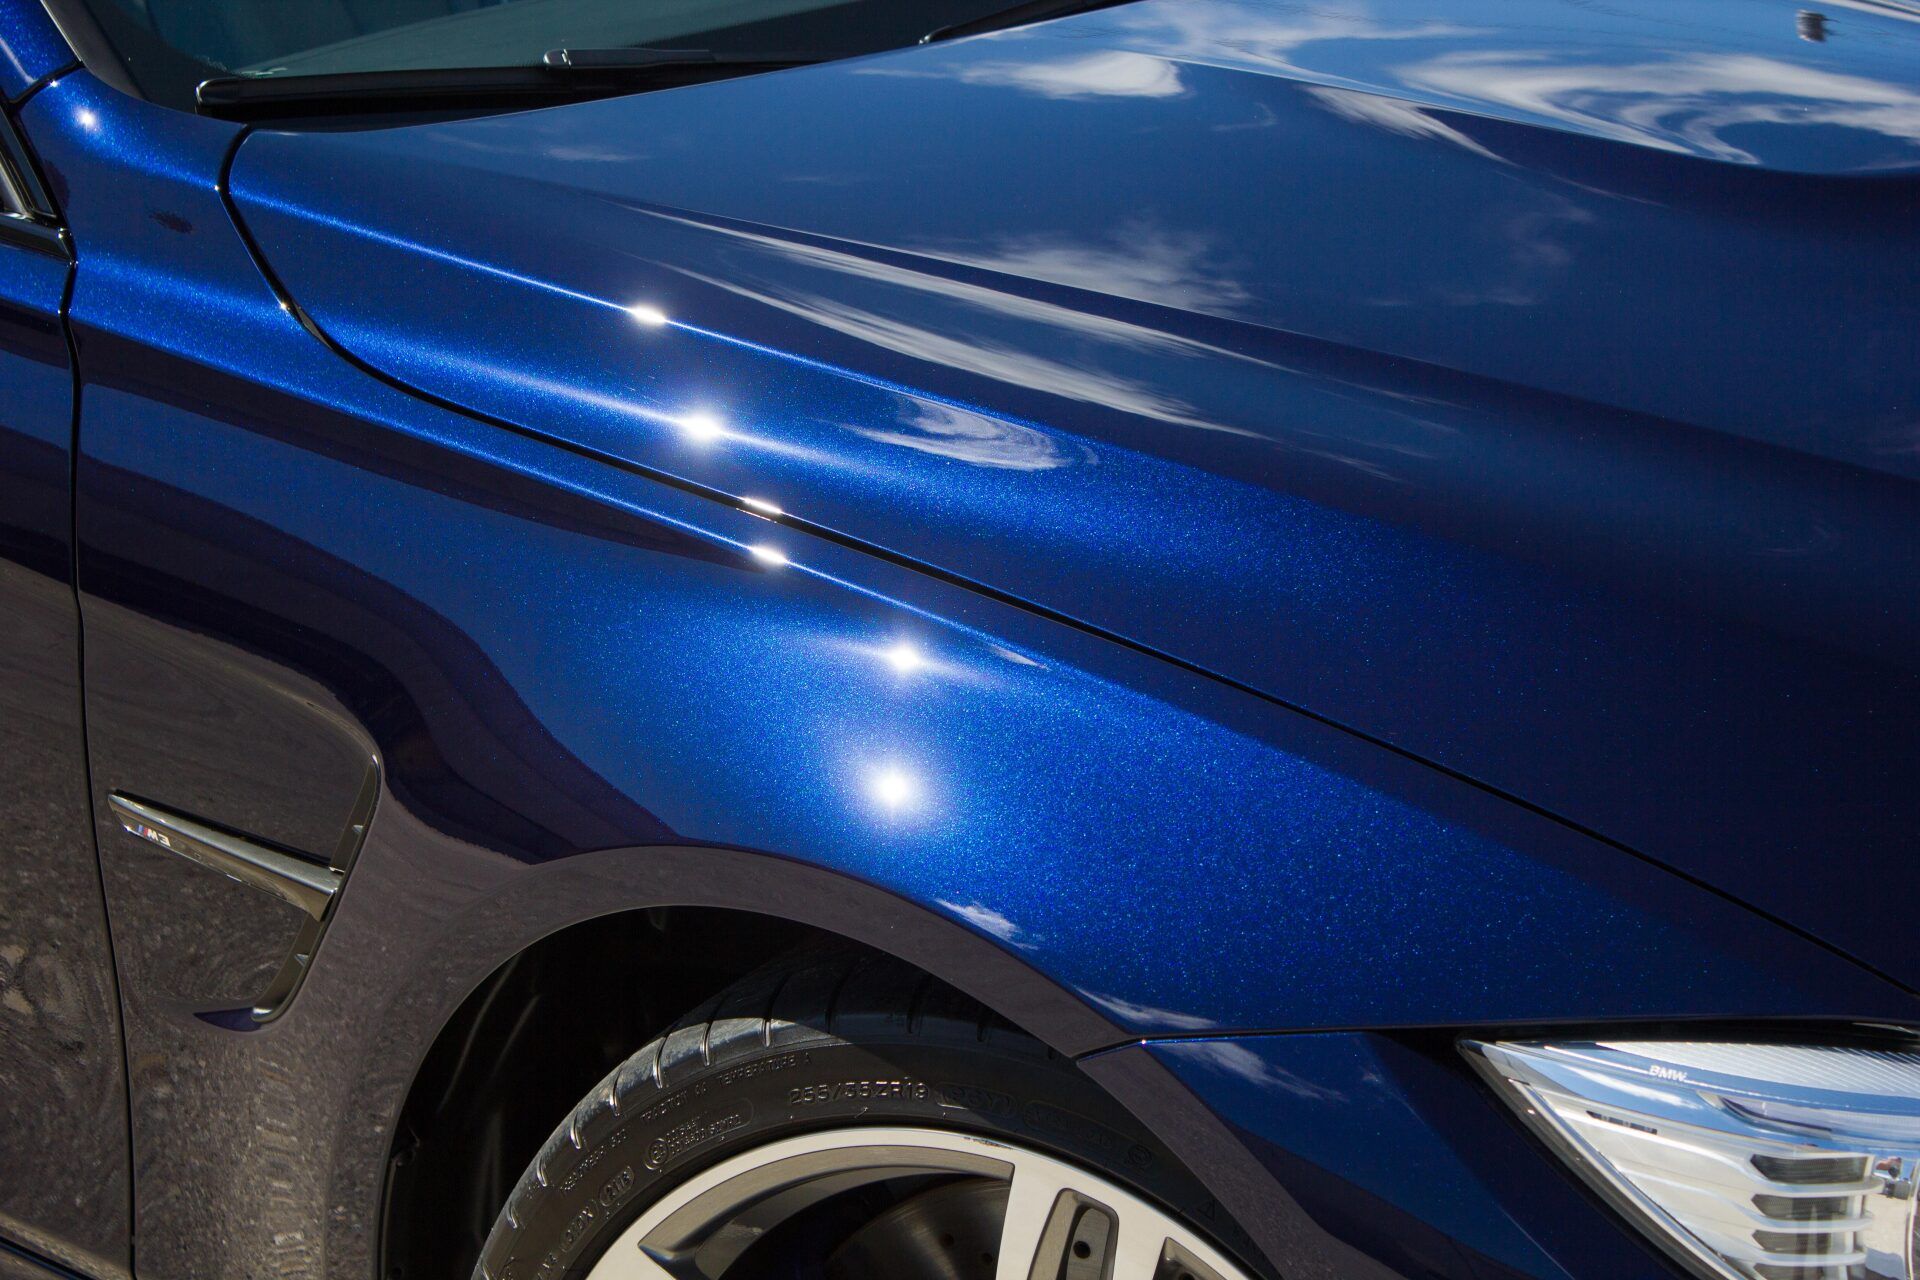
With the successful application of paint correction techniques, even heavily scratched or oxidized surfaces can regain their former shine and gloss - ensuring that your car looks ready to roll off a showroom floor once again! As gratifying as it can be to put your newly acquired skills into practice, however, keep in mind that proper preparation for this task is key to achieving the desired results.
Prep Work for Paint Correction
Once the technique of paint correction has been chosen and materials have been gathered, the project is ready to move forward with prep work. Proper preparation ahead of time helps make the process go more smoothly and ensures a quality end result. Depending on the condition of the vehicle’s paintwork, this step may require some additional time and effort.
When preparing for paint correction, it is important to decide on an appropriate level of grinding that suits both the needs of the driver and the style of their vehicle. Some drivers may want to use light pressure or chemical polishes in order to keep their car looking glossy, while others might opt for more aggressive action like wet sanding in order to remove deeper damage. Many professionals suggest a combination of both approaches in order to get optimal results. In either case, test spots should be done before delving into any aggressive measures in order to spot any potential issues before they become a problem further along in the process.
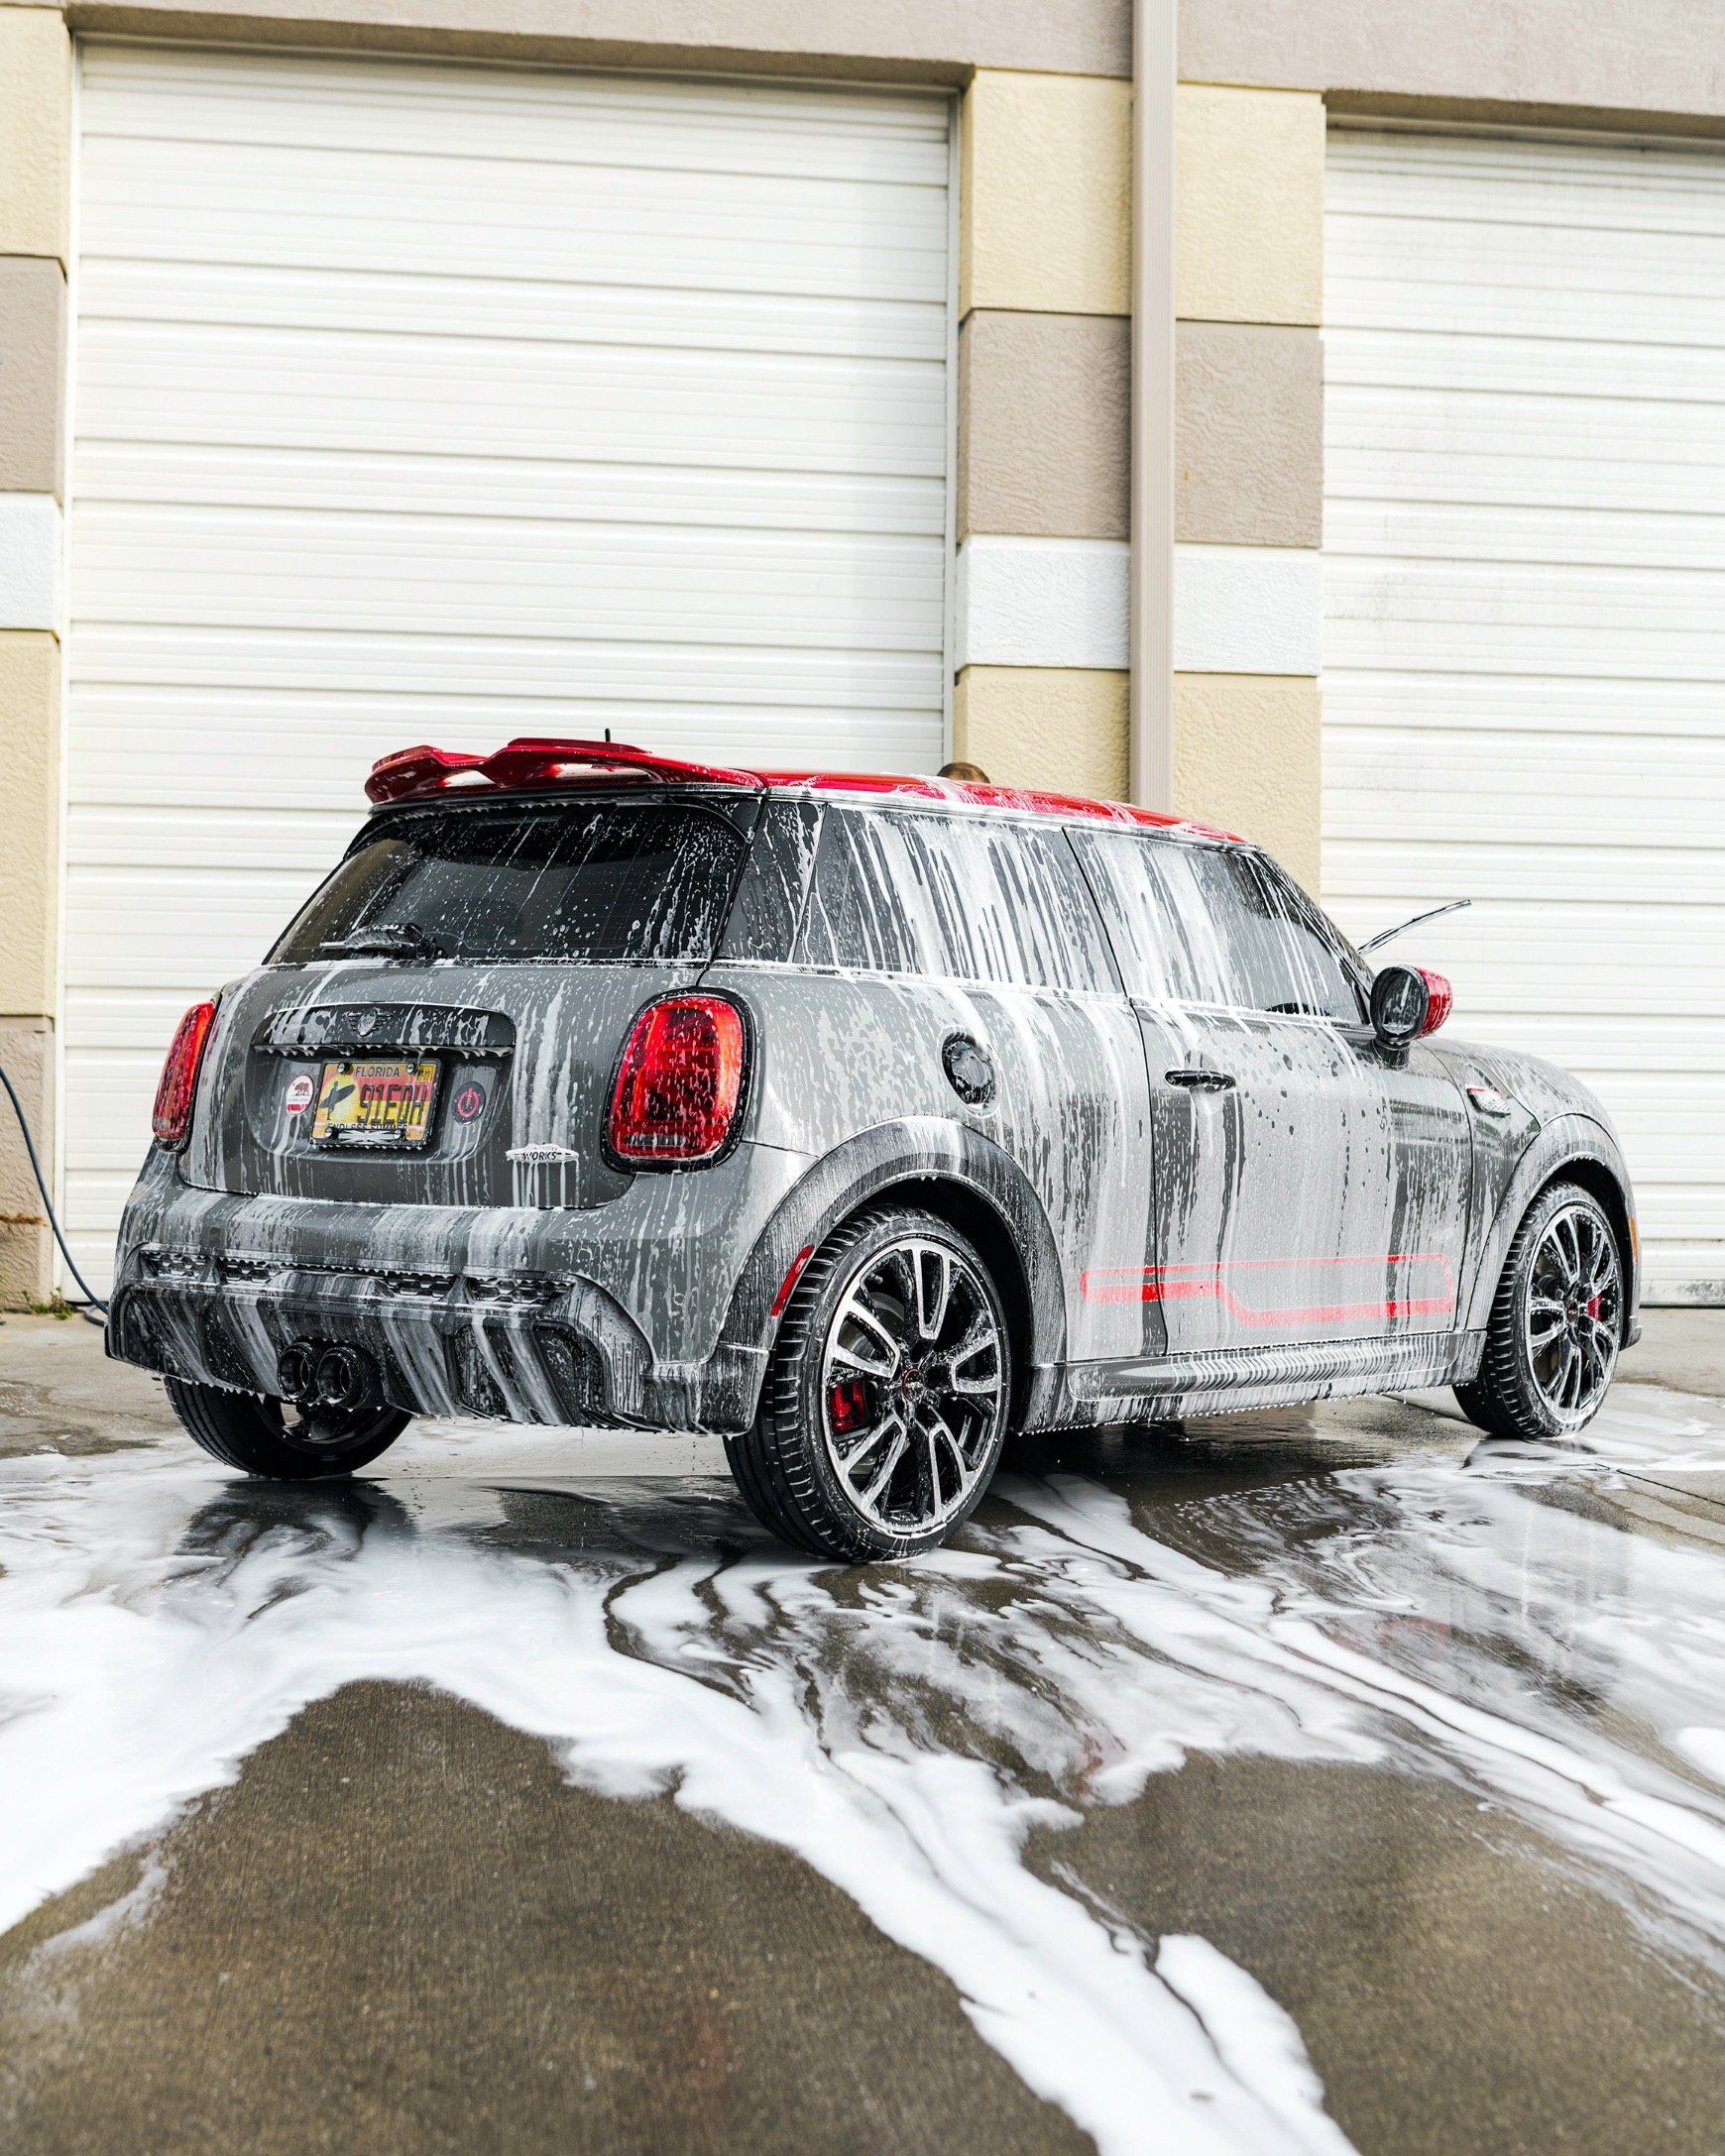
In addition to weighing grinding options, all surfaces should be thoroughly cleaned as part of the pre-correction process. The goal here is to ensure that any debris or contaminants are removed from the surface prior to commencing paint correction, so scratches made during grinding are minimized. This helps maximize productivity and produce results that cannot be obtained by machine polishing alone.
Sanding and Smoothing the Surface
Once the prep work for paint correction is complete, the next step is to assess any deeper imperfections in the paint's surface before sanding and smoothing the area. Sanding can be a tricky thing to do since it must be done with uniform pressure and using various grades of paper. Skilled professionals are capable of distinguishing which level of grit should be used in what circumstances, as finesse is required to smooth away a blemish while still preserving the surrounding clear coat layer intact.
In certain cases, sanding down too much can cause issues that require more attention and expensive machinery to fix. Some technicians might be inclined to opt for a more aggressive approach when sanding, believing that it will yield faster results than opting for gentle techniques; however, there should always be a consideration for reducing clear coat material and causing further damage as well.
Due to this fine balance between being vigilant against imperfections and preserving the intact surface, it can become difficult to make decisions about sanding and smoothing down an area due to a lack of experience or caution. It is very important that experienced individuals handle this part of paint correction precisely and correctly because failure to do so can permanently damage a car's paint job.
Sanding and smoothing is an intense but crucial process in successfully restoring a car's paintwork and takes not only careful judgment but also a skill. Once this task is completed, it is time to apply some fillers and primers, which will help finish the overall look of the job.
Applying Fillers and Primers
Once the sanding and smoothing process is complete, it may be necessary to apply fillers and primers before polishing. Spraying a filler or primer can quickly and easily fill in scratches and smooth the surface. Depending on the condition of the car, adding a filler or primer first can help create a finished look that is much smoother and requires less work when it comes to polishing.
However, some caution should be taken when using fillers and primers, as they are typically chemically-based solutions that contain solvents. If the incorrect mixture of solvents is used for a particular paintwork type, there could be unintended results such as an uneven finish, discoloration, cracking, or peeling. In more severe cases, applying too much solvent can also damage the paint underneath. It is best practice to always read manufacturer directions carefully before applying any chemical substance to your vehicle’s paintwork.
It may also be a good idea to consult a professional auto detailer beforehand if you are uncertain about what products to use for the best results. For example, glass-filled mixtures can provide an additional layer of protection between the paintwork and environmental factors such as extreme temperatures and UV rays.
Polishing and Sealing the Finish
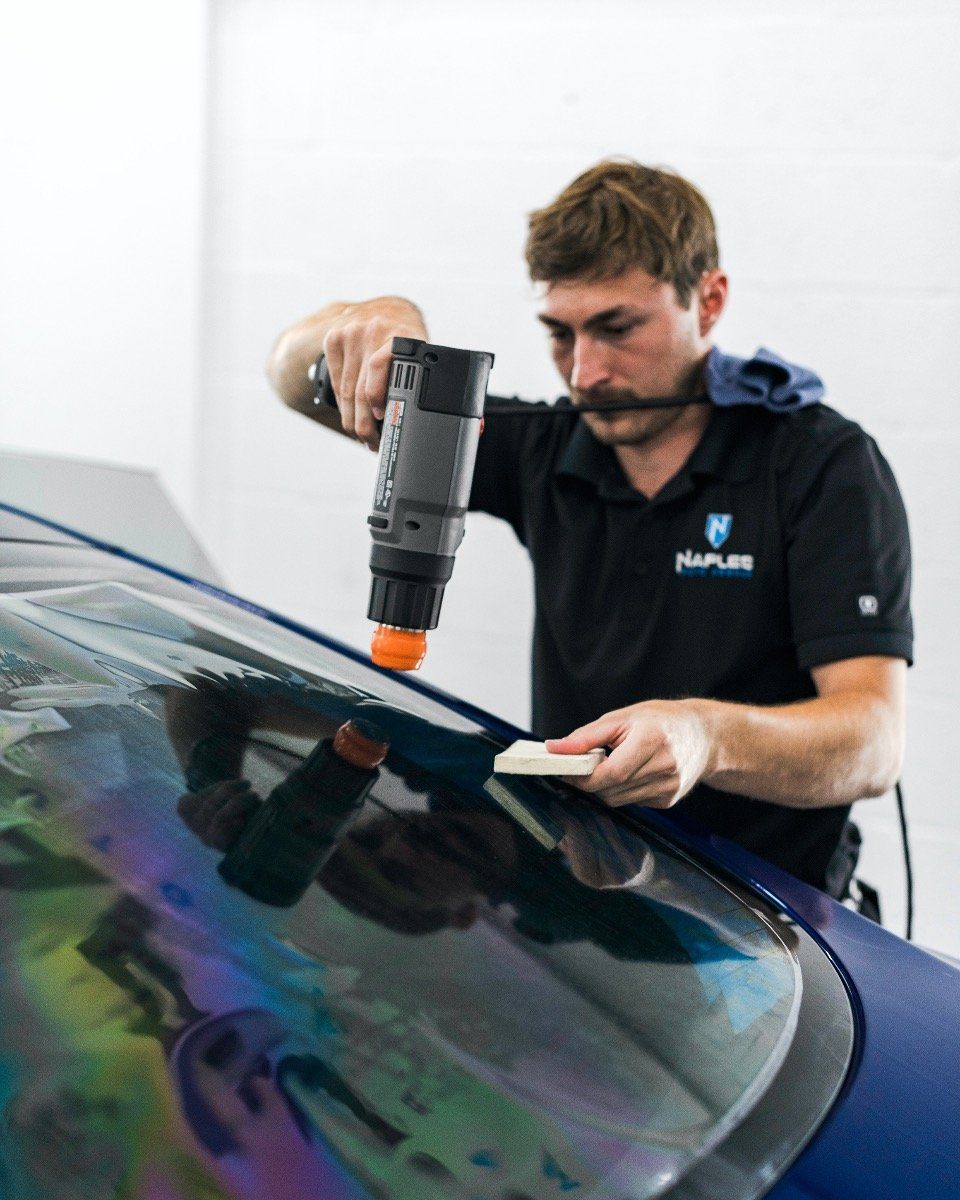
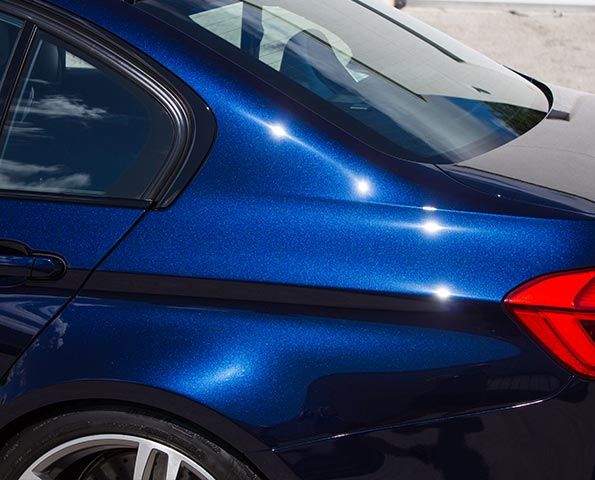
Once the repairs and primers have been applied, it is time to move on to polishing and sealing the finish. Polishing is the process of removing scratches and oxidation from a vehicle's paintwork, making it look brighter and more vibrant. This is done by applying a medium-grade polish with a rotary buffer or a foam pad. During this process, the clear coat is leveled and realigned, providing a smooth surface for waxes or sealants.
When the car's paintwork has been corrected and polished, it's time to seal it against future damage. This is done by waxing or adding a sealant layer. Wax will give the car a glossy shine while also adding some protection; however, wax doesn't last very long and usually needs to be reapplied every six months. Sealants are much more durable and can typically last anywhere from 12-18 months before being reapplied. This makes them ideal for restoring your car's paintwork over time while maintaining its beautiful finish.
When deciding between waxing or sealant application, it largely depends on personal preference. If you need quicker results that won't require reapplication anytime soon, then the sealant is likely your best option. If you want a glossy finish now but don't mind reapplying wax every few months in order to maintain its shine, then applying wax may be the way to go for you. Ultimately, it comes down to what works best for you and your car's needs.
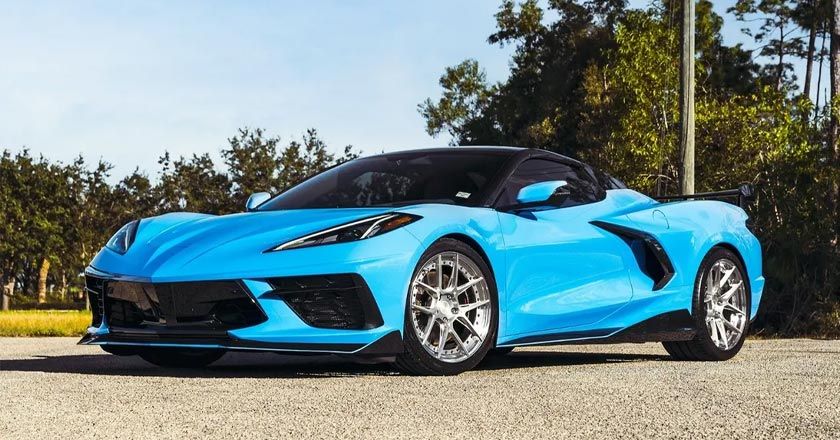
We Provide the Best Paint Correction Services in Naples, FL
We serve as a model for other professionals to emulate. At Naples Auto Armour LLC, we restore your vehicle to a condition superior to that of new. We provide exterior detailing, paint protection, ceramic coating, and other auto detailing services in Naples, FL, and its surrounding areas.
Book an appointment with us today to get started!
Naples Auto Armor Blog


Naples Auto Armour was designed by the team at Detailers Roadmap, a platform developed for detailing operators across the globe.